Clear Ultra Fine Detail Plastic

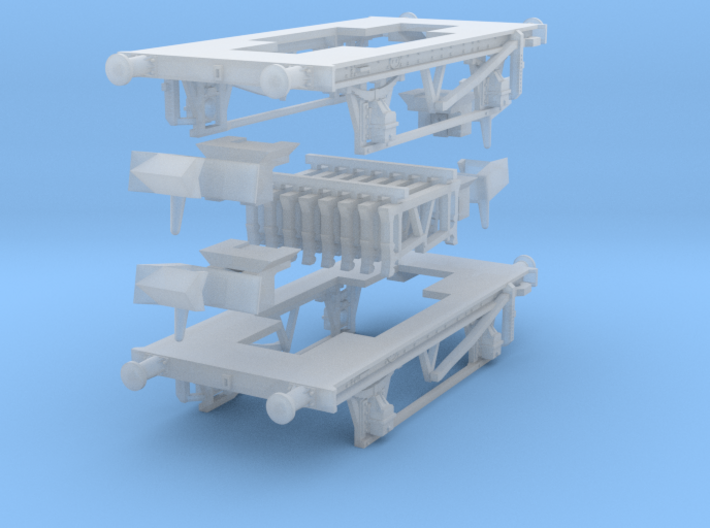
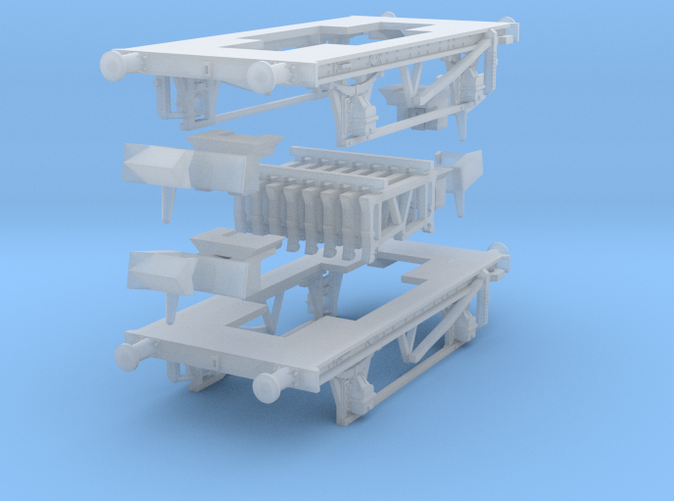
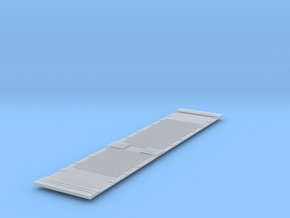
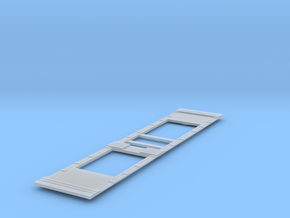
Chassis_9ft_0in_WB_16ft_6in_OHS
Made by
Print With Shapeways
 Choose Your Material
 Choose your color and finish
$22.27
Have a question about this product?
contact the designerYou must be logged in and verified to contact the designer.
Product Description
A pair of 9ft wheelbase 4-wheel wagon chassis 16ft 6ins over headstocks. Includes brake levers and buffers. You wil need N-gauge or 2mmFS wheels on 14.8 mm pinpoint axles. Parkside Dundas would be ideal for N-gauge. Peco are also fine, though lighter. There are separate parts in the kit - Rapido-style couplers that should ease into the guides on the underside of the chassis floor, behind the headstocks. There is a set of 8 brake block and rodding units which should attach inside the sides (4 spares for breakage and loss). There are choices: leave either one out, or use one each side, whichever way round you want, to represent single-sided brake, dual-side independent or Morton brake. For single-sided or Morton brake - remove the second v-hanger from the brake rodding units and add a wire between the v-hangers on each side. You can reposition the end of the brake lever for the clutch side if you think it is worth it. The dimensions of the cross-shaped hole in the floor should fit the tracing that is on the underside of some of my 16t minerals and this should help hold the brake units in place. If using this chassis kit for the 16t mineral wagon, you will need to file away a little of the front inside edge of the projecting stanchions at the opening end of the mineral body to clear the angles behind the buffer beam ends, and on the chassis you will need to file a pair of small grooves into the bufferbeam to make room for the projecting stanchions at the non-opening end. Some fettling may be needed in other places as well to get a safe fit. The clearances are all nominally 0.1 mm. Remember hot-washed acrylic swells a little, so let all the parts dry out before you attack them for not fitting together. There are tie bars between the W-irons so you don't need to add these yourself, and if you don't want them on the wagon you are modelling, they should be quite easy to remove. Get the couplings clean and mobile before fitting them to the wagon, and if they need a little springing to make them return to the lowered position, there is a tiny slot to mount a piece of phosphor-bronze or thin plastic, to flex and play against the back of the coupler. There is room to bend your "spring" at the top to keep it in place once the body is on top. Alternatively, use a length of 0.2mm Nickel Silver wire almost as long as the wagon, just long enough to seat into the tiny holes in the back ends of the two coupler arms. This not only springs them quite well but also keeps them from falling out, without needing glue. In smoothest fine detail plastic, I find these a lot less hassle than modifying the Peco 9ft wb steel solebar chassis kit to be scale 16'6" OHS and accommodate the end stanchions at the non-opening end without falling to bits. SEE ALSO my set of four mineral chassis with slots for the end stanchions at one end and a sprue of 12 modified couplers (enough spares for 2 extra wagons) for improved shim-springing.
Details
What's in the box:
Chassis_9ft_0in_WB_16ft_6in_OHS_19
Dimensions:
Success Rate:
First To try.
What's this?
Rating:
Mature audiences only.
