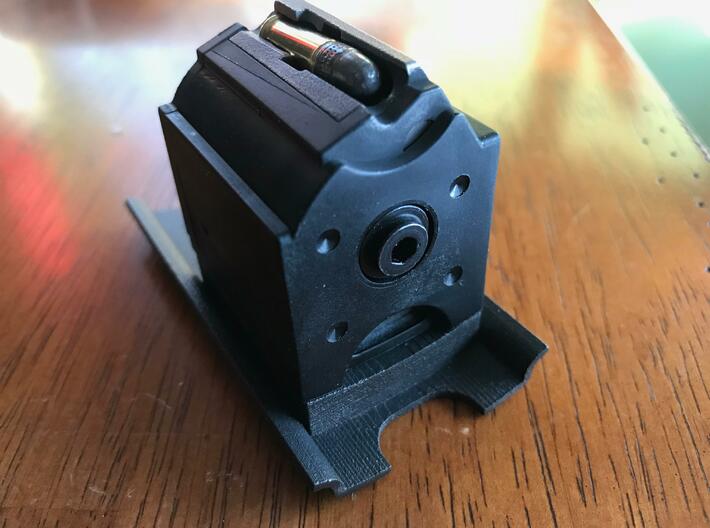
Assembled Magazine


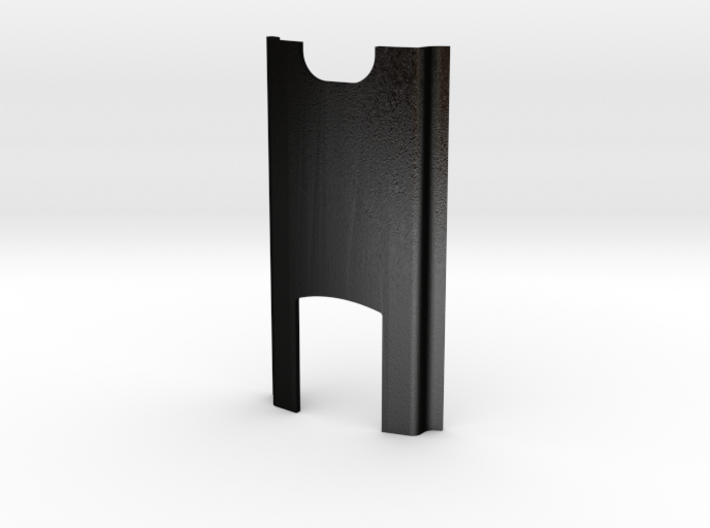
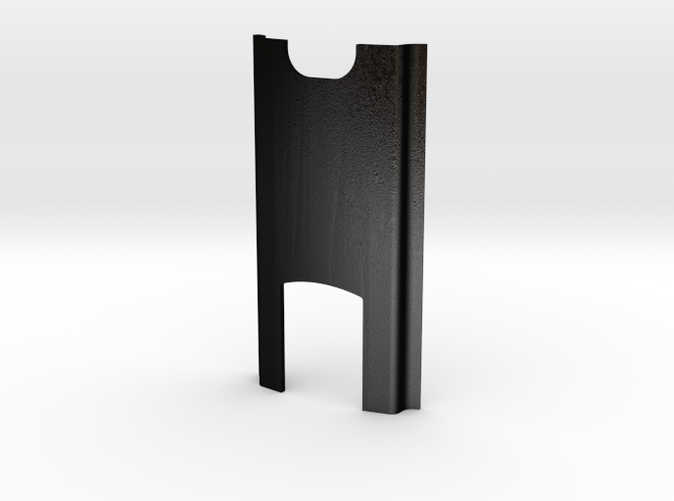
Trigger Plate for Kingston Armory M1 Garand
Made by
Print With Shapeways
 Choose Your Material
 Choose your color and finish
$75.61
Have a question about this product?
contact the designerYou must be logged in and verified to contact the designer.
Product Description
I have a Kingston Armory M1 Garand 10/22lr rifle I purchased. It came with one 10 round magazine. I had many feed loading issues with the OEM mag such as stripping off the round which would tomb-stone or wedge against the top of the receiver, could never reslove the issues with the OEM mag feeding correctly. I also looked to purchased more mags but found them to be non-existent or if I did fine one they were very, very expensive.
I decided to make my own by re-engineering the trigger plate and 3D printing it in Shapeways Matte Black Steel. I then purchased a Ruger XB-1 10 round magazine.
THE Ruger XB-1 10 round magazine is NOT included.
Make sure the rifle and magazine are UN-LOADED!
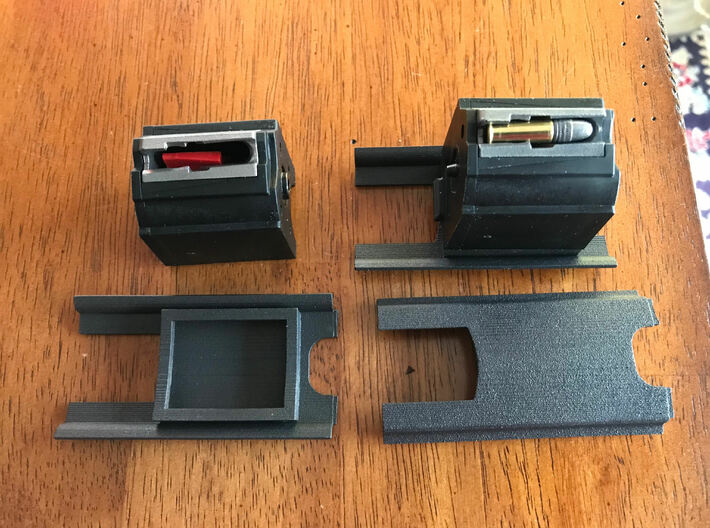
Pre-Fit:
Place and support the rifle with the mag receiver facing up. First take the trigger plate and the empty BX-1 mag an study them to see how the fit together. Dry fit to your rifle to see how the trigger plate lines up with the wood stock.
Make sure the rifle and magazine are UN-LOADED!
Final-Fit:
Place and support the rifle with the mag receiver facing up. To assembly, place the empty Ruger BX-1 mag into the rifle making sure it is tightly in the receiver and well seated, should be no or very little movement of the mag. Take the trigger plate and apply a good non-sagging, thick type, CA adhesive to the entire curved seating surface of the trigger plate. Do not apply to much adhesive as to have it run out between the join onto the outside of the mag. Apply the adhesive more to the inside edges. Next place the trigger plate on to the rifle with the mag in place and align it with the wood stock. It is designed so there is ample movement for alignment. After aligning the trigger plate to the wood stock let is sit in place until the adhesive is fully cured. Once the adhesive is fully cured your good to shoot and have fun. This will also solve all the feed issues people have complained about with the OEM mag. Most important ... be safe.
I decided to make my own by re-engineering the trigger plate and 3D printing it in Shapeways Matte Black Steel. I then purchased a Ruger XB-1 10 round magazine.
THE Ruger XB-1 10 round magazine is NOT included.
Make sure the rifle and magazine are UN-LOADED!
Pre-Fit:
Place and support the rifle with the mag receiver facing up. First take the trigger plate and the empty BX-1 mag an study them to see how the fit together. Dry fit to your rifle to see how the trigger plate lines up with the wood stock.
Make sure the rifle and magazine are UN-LOADED!
Final-Fit:
Place and support the rifle with the mag receiver facing up. To assembly, place the empty Ruger BX-1 mag into the rifle making sure it is tightly in the receiver and well seated, should be no or very little movement of the mag. Take the trigger plate and apply a good non-sagging, thick type, CA adhesive to the entire curved seating surface of the trigger plate. Do not apply to much adhesive as to have it run out between the join onto the outside of the mag. Apply the adhesive more to the inside edges. Next place the trigger plate on to the rifle with the mag in place and align it with the wood stock. It is designed so there is ample movement for alignment. After aligning the trigger plate to the wood stock let is sit in place until the adhesive is fully cured. Once the adhesive is fully cured your good to shoot and have fun. This will also solve all the feed issues people have complained about with the OEM mag. Most important ... be safe.
Details
What's in the box:
M1 Garand Trigger Plate
Dimensions:
Success Rate:
First To try.
What's this?
Rating:
Mature audiences only.
